The Baofeng DM-1701 CPS software is used to program the radio.
Even if you plan to flash the radio with GD77, it is a good idea to back up the factory configuration in case you want to restore if after trying GD77.
These instructions will guide you through installing the Baofeng CPS software and creating a backup of the configuration
Download and Install CPS and USB Driver
Download the Baofeng CPS (programming) software for DM-1701
https://www.radioddity.com/pages/baofeng-download
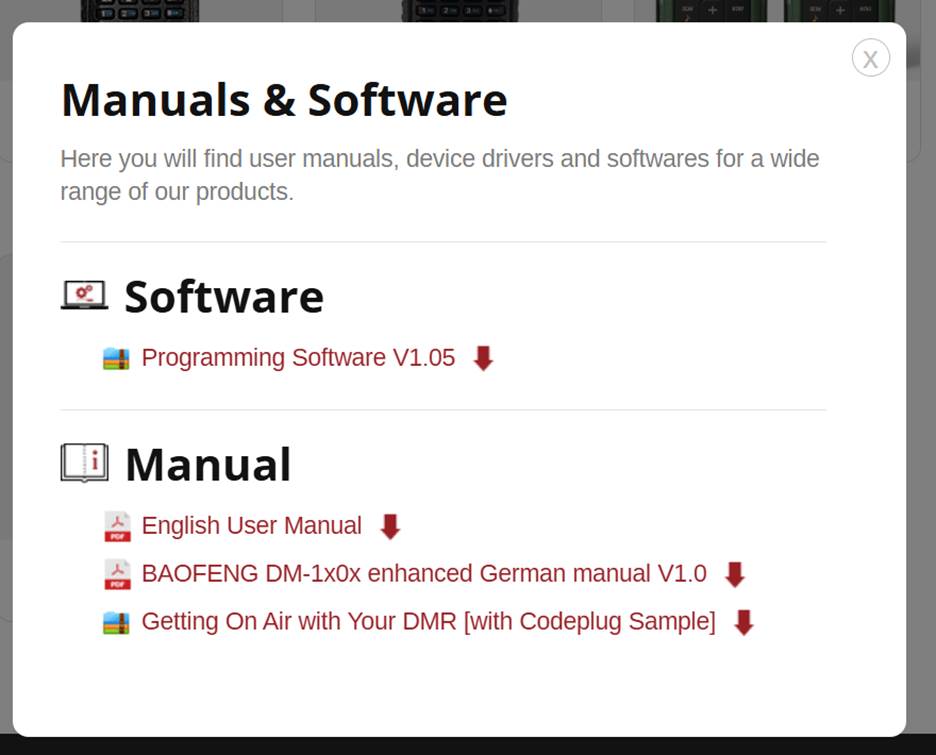
Scroll to bottom, choose DM-1701, click to expand.
Download Programming Software V1.05 and install.
Optionally download English User Manual (formatted for letter paper instead of the small booklet included with the radio).
The DM-1701 DMR Radio does NOT use a USB-to-serial cable for programming. So, there is no COM port associated with the radio, and software that depends on a COM port will not work.
Instead, the provided Baofeng DM-1701 cable is a straight-thru connection to the STM32 MCU (microcontroller unit) in the radio. STM drivers must be installed for the CPS to communicate with the radio using Baofeng DFU protocol that is programmed into the radio.
For Win10, use the STM Dfuse driver available here. This is the same driver used by the GD77 project.
https://www.sa0bux.se/Ham/opengd77/Dfuse_3.0.6_drivers.zip
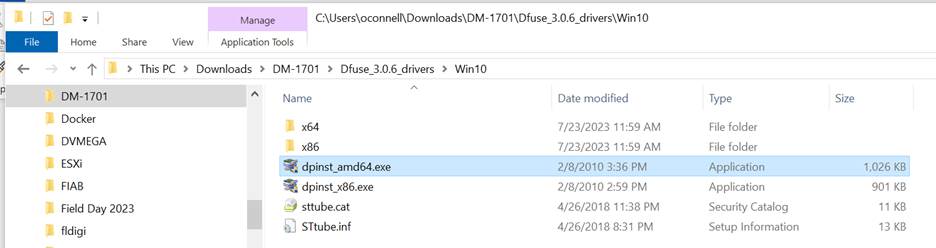
For Win10 64-bit, install dpinst_amd64.exe
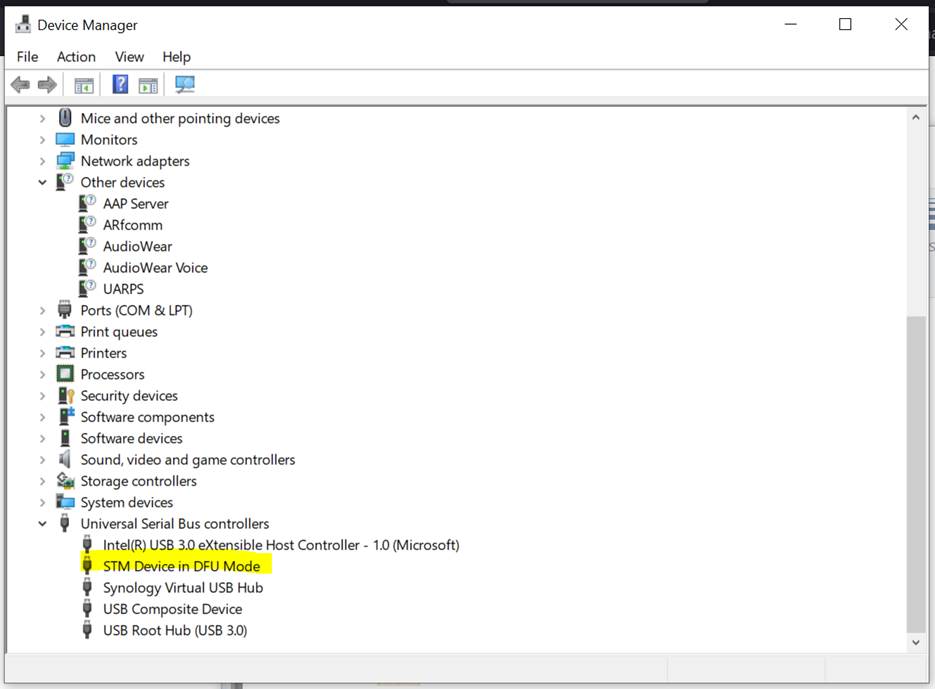
Connect USB cable to PC and radio and turn on radio.
Radio should show up in Device Manager as “STM Device in DFU Mode”
Create Configuration Backup
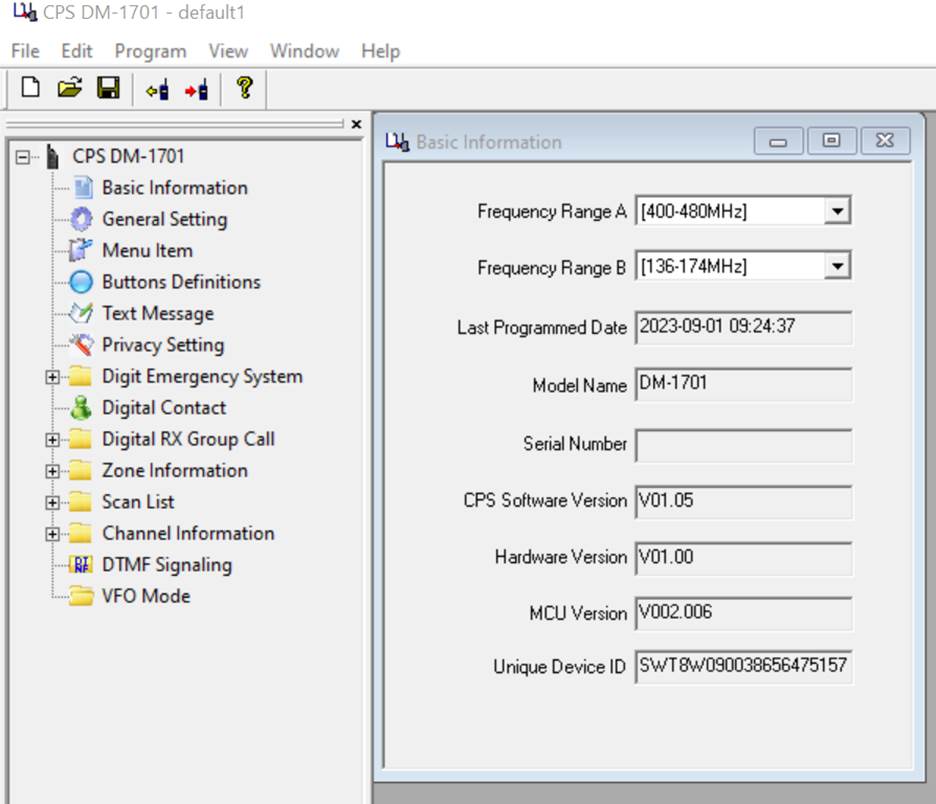
Run the CPS DM-1701 program.
Select “Program/Read data” to read the factory configuration from the radio.
Select “File/Save As’ to save the configuration to be able to later restore to factor defaults.
Program the Radio
You can now program the radio or proceed to install GD77.
If you decide to revert to factory, flash with the factory firmware and reload the saved configuration file.
 Save as PDF